
Free Pattern: Quilted Tech Case
Some of my favorite projects start with a problem to solve and a fabric I just can’t part with. Which brings a new free pattern to you - a Quilted Tech Case! This whole idea started a few years ago when I couldn’t bring myself to get rid of one of my daughter’s old sweatshirts. I happened to need a new laptop case at the time, so I turned that sweatshirt into something useful instead.
Fast forward to today: I have a new laptop (which means another case!) and wouldn’t you know it, another sweatshirt I couldn’t part with. It felt like the perfect excuse to write up the pattern and share it with all of you!

This project is so adaptable so you can size it for a laptop, tablet, or e‑reader, and it works beautifully with everything from sentimental sweatshirts to quilting cottons. It’s quick, practical, and a lovely way to give favorite fabrics a second life.
The measurements and requirements below are what I needed for my 16” Macbook Pro, but below are directions on how to measure for your own tablet or laptop.

Supplies:
Exterior Fabric: ⅝ yard
Lining Fabric: ½ yard
Interfacing (if using wovens): ½ yard
Foam: ½ yard
Zipper: 13” or Width of project
Snap
Step 1: MEASURING INSTRUCTIONS
When measuring for your tablet or laptop, measure the width and the length of your device, but begin your measurements from the middle of the height of your device. This measurement is important because you want to ensure to have enough space for your device to fit.
Once you have that measurement, add 1” to the width and height measurement to account for ½” seam allowance on all sides.
These measurements will tell you what your yardage requirements are for your device.
Additional Note: The exterior pocket will need space as well, so don’t worry if you have extra space in your case as this will most likely be taken up by the charger, mouse, etc that is in the exterior pocket.
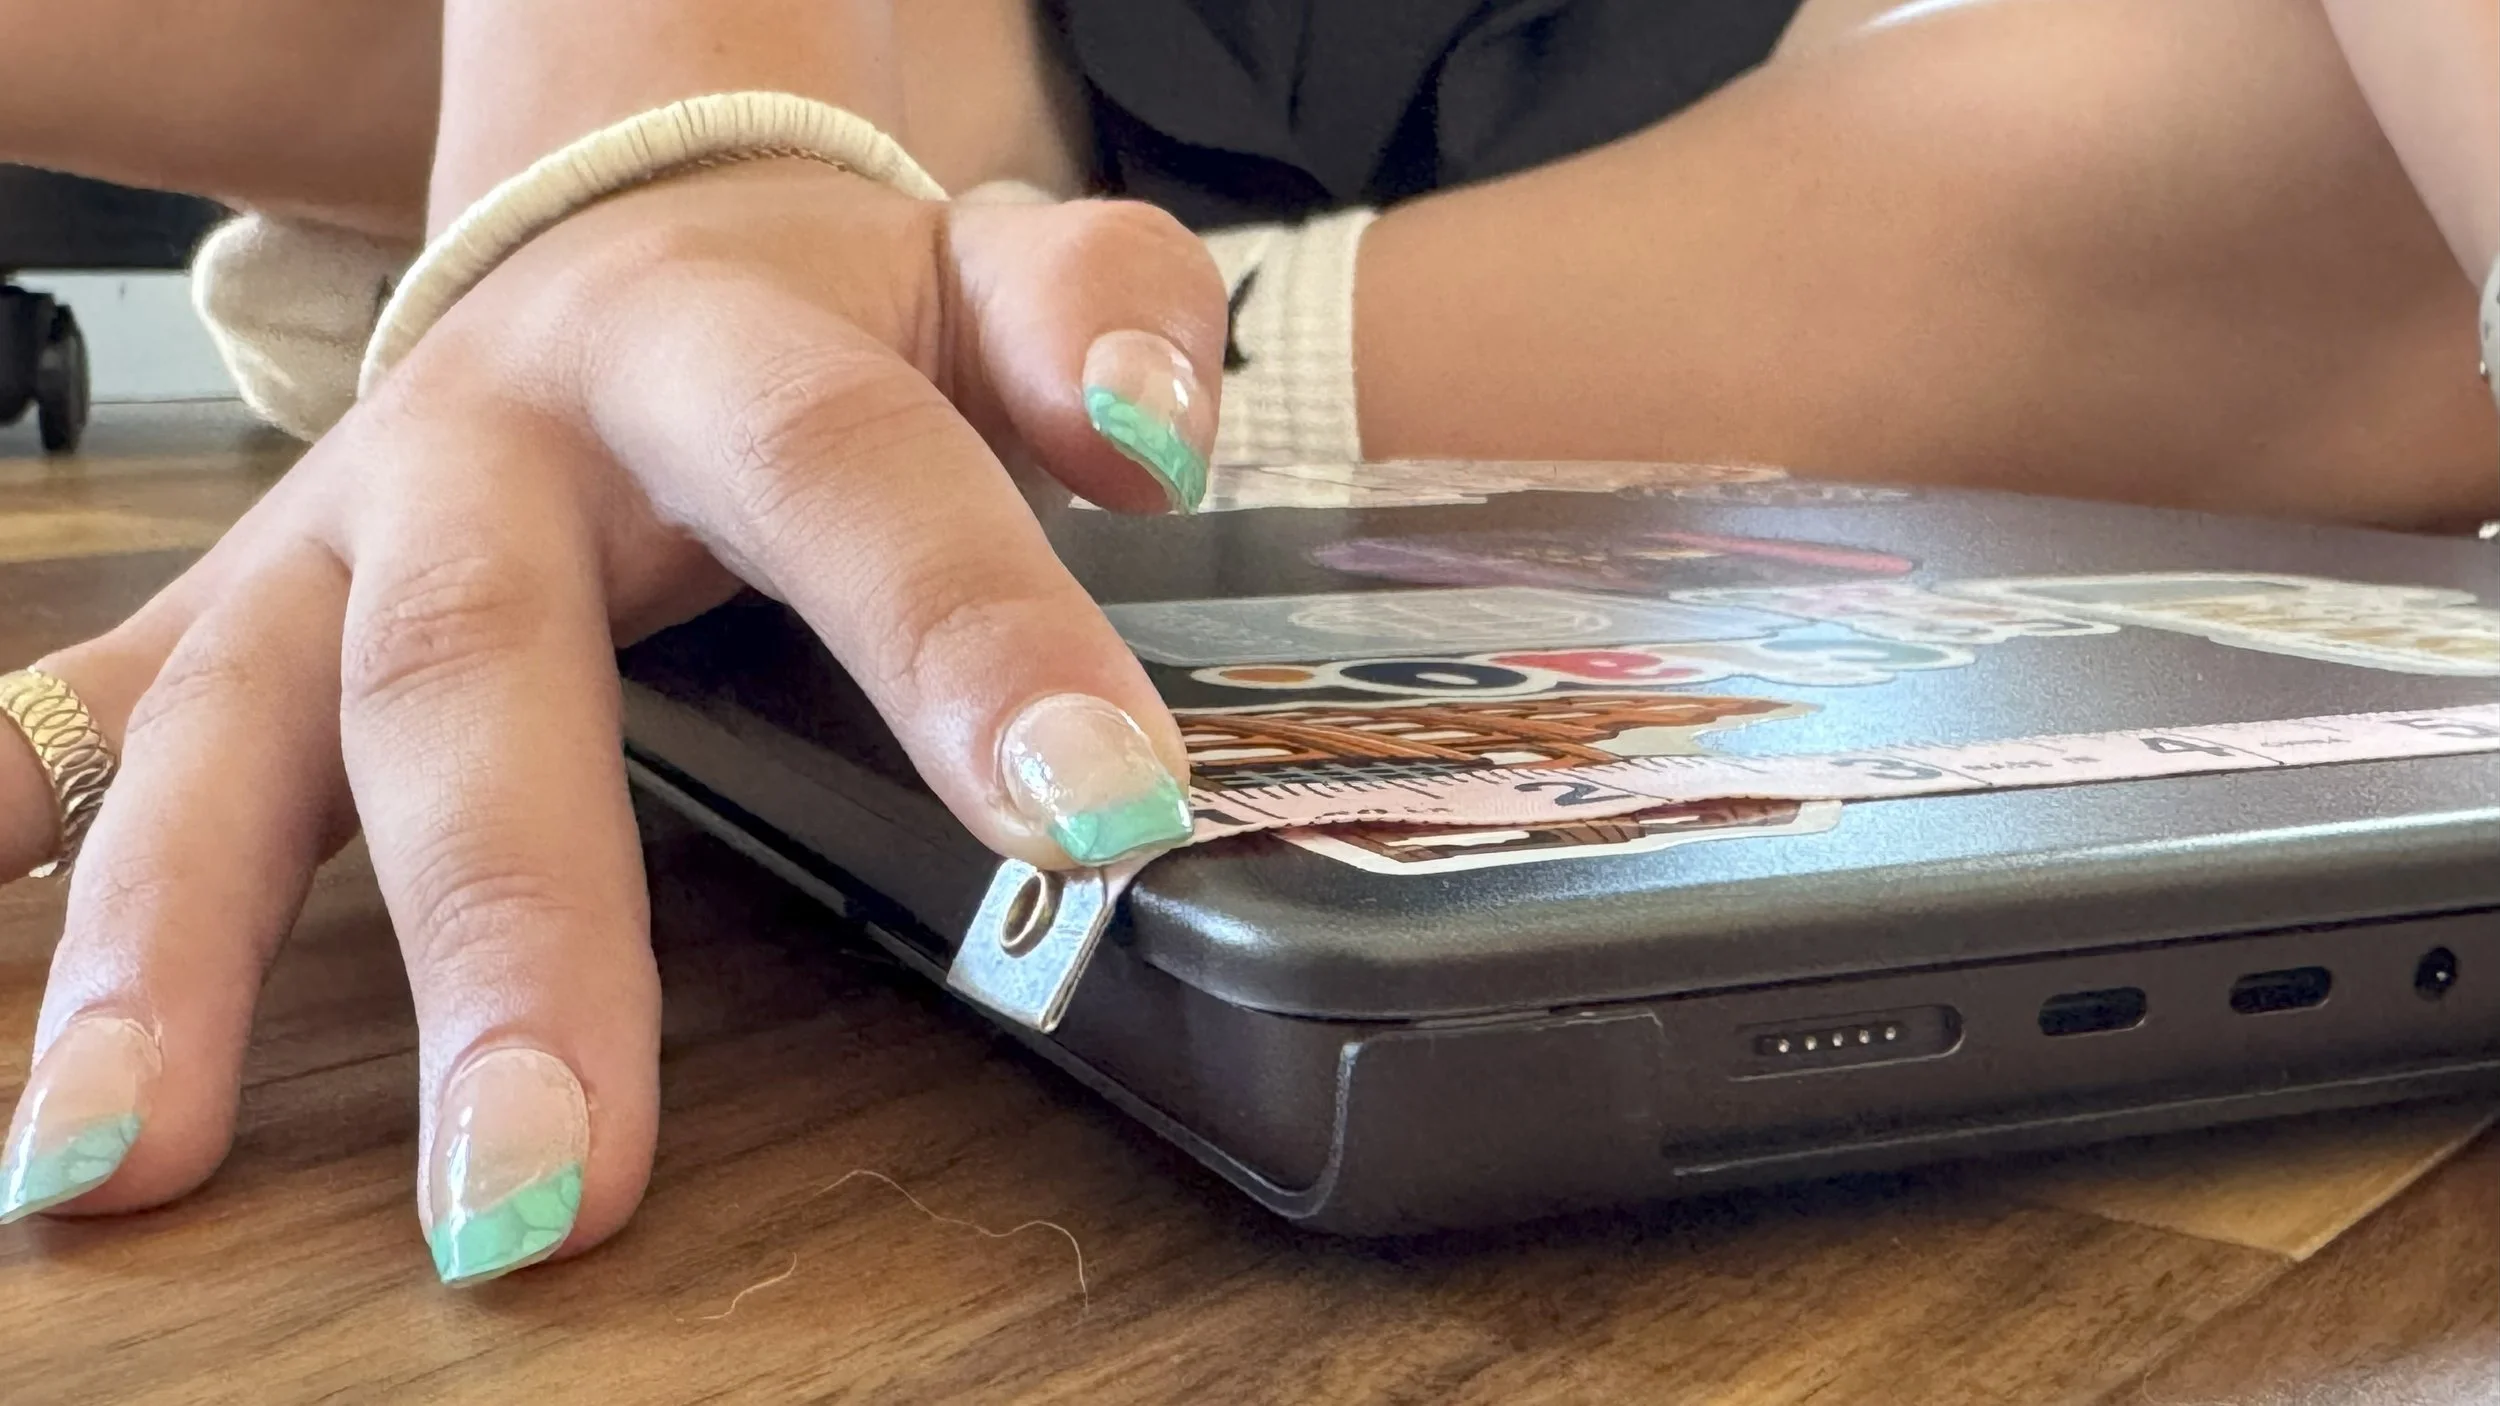
Special thanks to my pre-teen with her fancy dancy nails for modeling for me.
Step 2: CUTTING INSTRUCTIONS (Width x Height)
*Note: the measurements noted are for my Macbook Pro 16” laptop, as it will give you a starting point, but refer to Step 1 for the accurate measuring instructions for your project.
Exterior Pieces
Cut 1 Front (14” x 18”)
Cut 1 Back (14” x 24”)
Cut 1 Pocket (13” x 12”)
Lining Pieces
Cut 1 Front (13” x 17”)
Cut 1 Back (14” x 24”)
Interfacing**
Cut 1 Front (14” x 18”)
Cut 1 Back (14” x 24”)
Cut 1 Pocket (13” x 12”)
Foam
Cut 1 Front (14” x 18”)
Cut 1 Back (14” x 24”)
Zipper
13” or width of project
**If using non-wovens, no need to interface the exterior fabric.
Step 3: APPLY INTERFACING
Apply interfacing to pieces if needed.
STEP 4: QUILTING
Quilt exterior pieces as desired with foam.
Trim exterior back to 13” x 23” and exterior front to 13” x 17”.

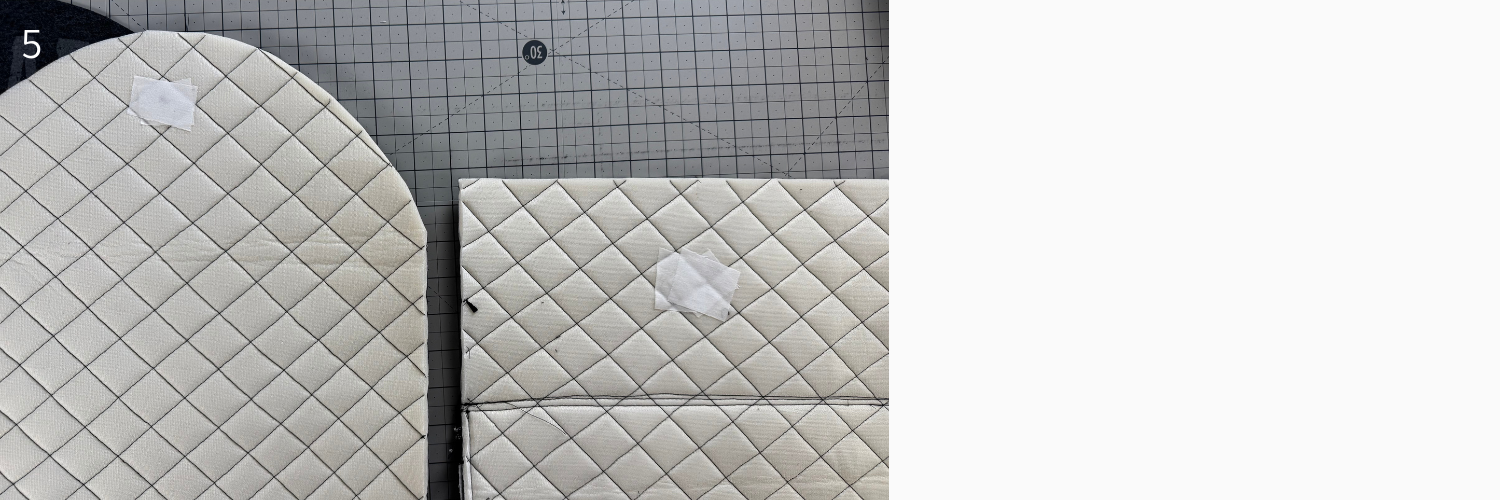
Step 5: CUT FLAP CURVE & ADD SNAP INTERFACING
Mark center of exterior front and back and lining back.
Mark 6” down on the exterior back piece on both sides.
Draw curve from center down to 6” markings.
**The size of this curve is personal preference and can change for the project, feel free to adapt to what works for you.Cut curve on exterior and lining at the same time.
Add Interfacing:
Mark 2 ¾” down from the front exterior piece.
Mark 1 ¾” down from the front back piece.
Add additional interfacing to these spots (this will be the snap location).
**You may prefer that these are in a different location. My recommendation for testing is to pin where you want your snap or closure with a safety pin and mark accordingly with a water soluble or chalk marking tool.

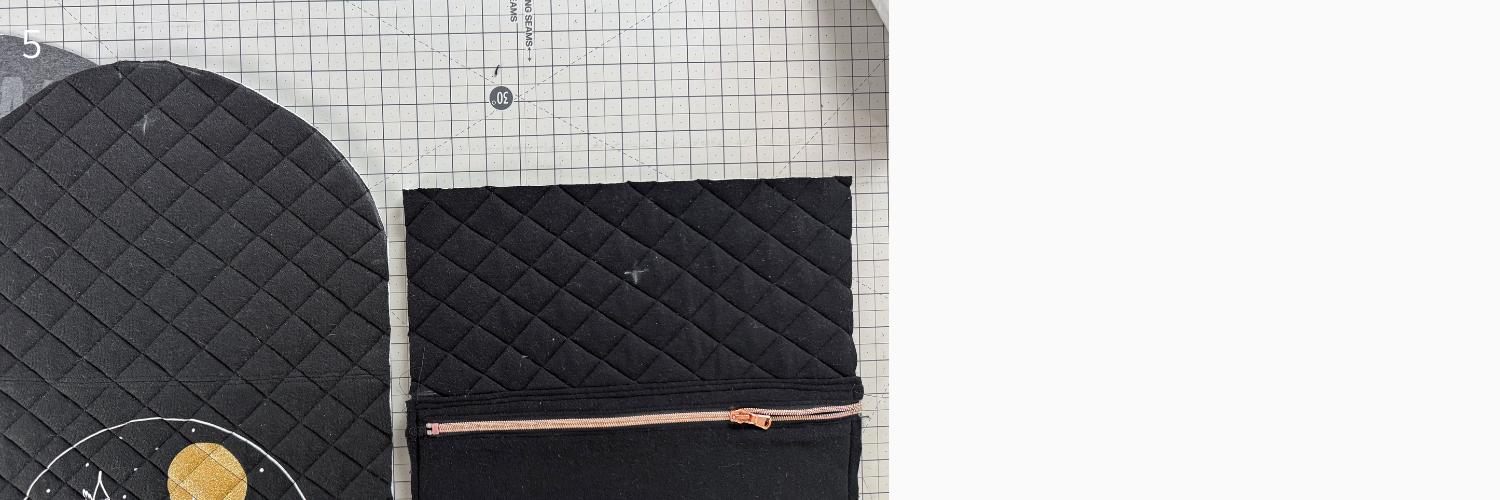
Step 6: ADD ZIPPER TO POCKET PIECE (optional)
Attach the pocket piece to the zipper, using the width side of the pocket, using ⅜” seam allowance.
Flip pocket piece down, Right Side Up pocket and zipper, and top stitch in place.
Lay the zipper, Right Sides Together, 6” down from the top of the Exterior Front.
Stitch in place, then flip down and top top stitch top of zipper into place.
**Note: I upcycled an already installed zipper from an upcycled sweatshirt.

Step 7: ADD POCKET TO EXTERIOR FRONT (optional)
Baste pocket sides into place, no need to baste the bottom, it will be secured in the assembly process.

Step 8: ASSEMBLY
Sew Exterior Pieces Right Sides Together
Sew Lining Pieces Right Sides Together
Leave opening in lining for turning Right Sides Out later.
Turn Lining Right Sides Out and Place Inside Exterior Piece (that is still Wrong Side Out)
Clip around the top and sew together.
Turn Right Sides Out using opening in Lining.
Top Stitch around top edge at ¼”.
Sew inside lining opening closed.


Step 9: INSTALL SNAP
Using the marks previously made on the Exterior Front and Back pieces, install snap.
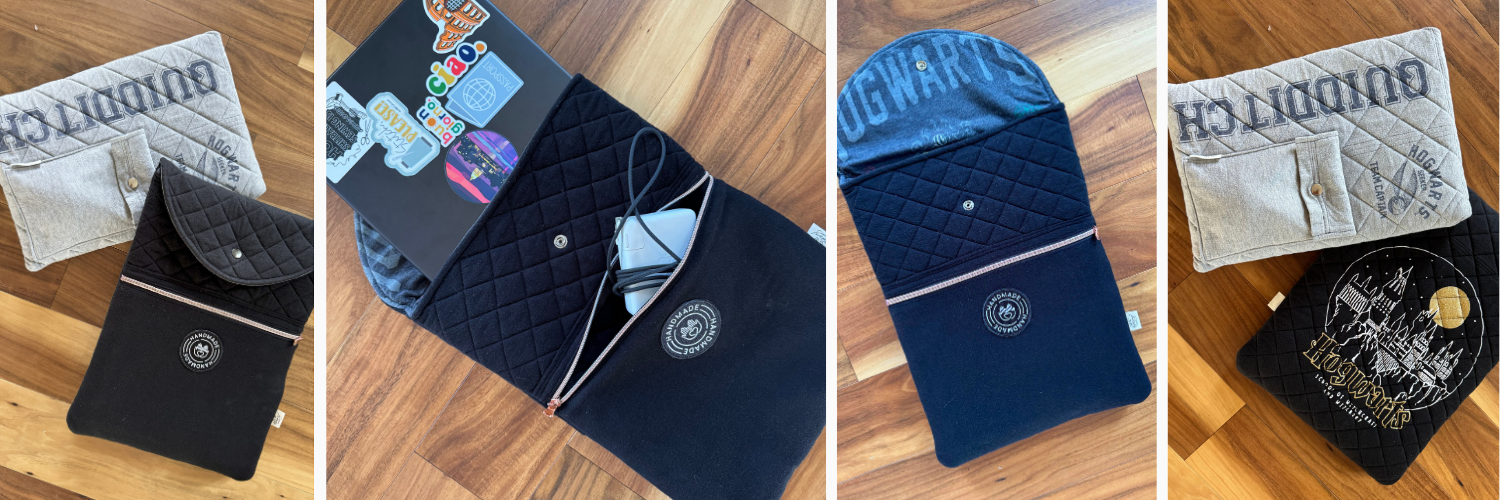
However you size or customize it, I hope this Quilted Tech Case becomes a favorite. It’s a quick, useful make that turns special fabrics, whether they’re sentimental sweatshirts or scraps from your stash, into something you’ll use every day.

Don’t forget to share your version with me; I’d love to see what you create! #sewdreamyquiltedtechcase
Ciao!